
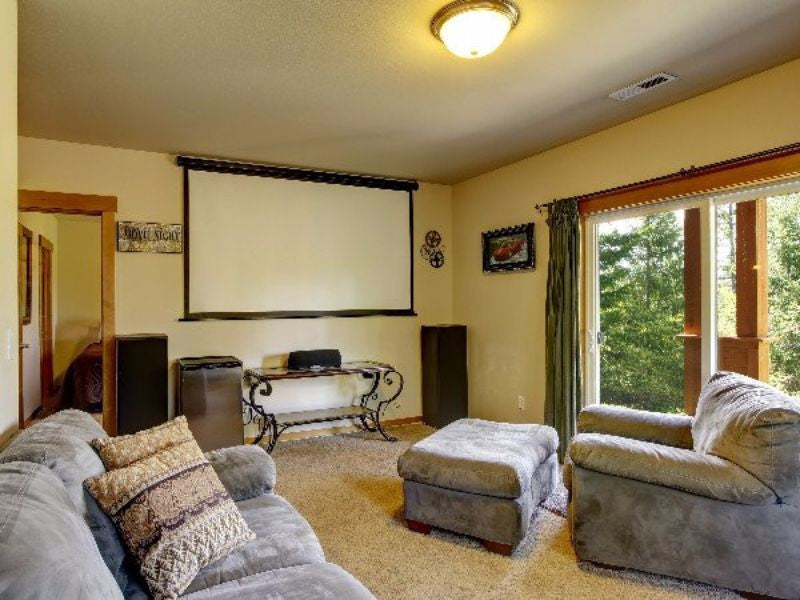
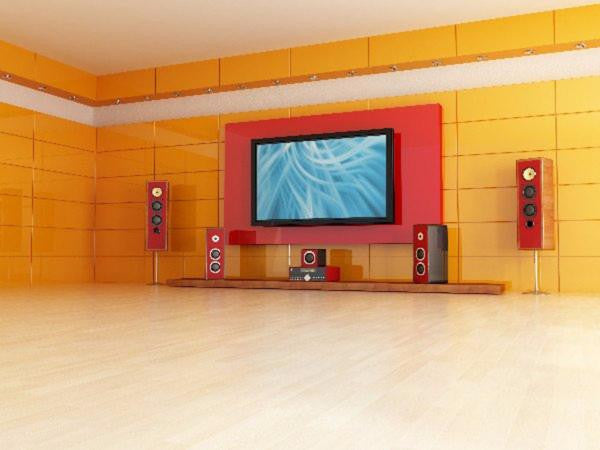
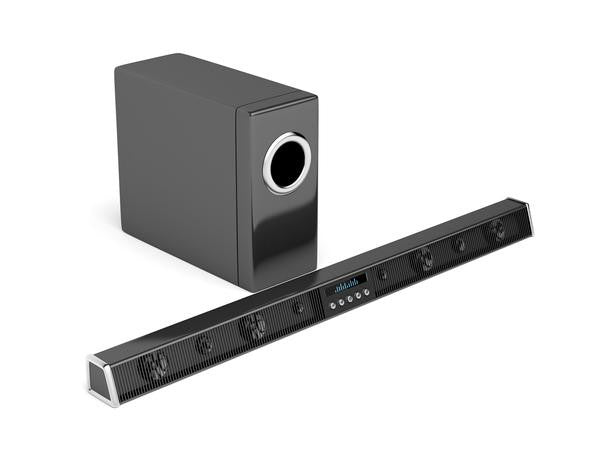
The Subwoofer
A subwoofer is the speaker which is tasked with reproducing very low bass frequencies. At these frequencies, which ranges between 20 Hz and 125 Hz, sound is often felt as much as it is heard. The subwoofer is used to provide the powerful audio rumble and punch. Consequently, they tend to be relatively large in size. This provides a longer throw and reduces the high frequency response. But a larger, costlier subwoofer is not the solution to all your bass-banes. A subwoofer is as much setup as it is the material. Here is a quick guide to set up your subwoofer.
- The Placement
Once you’ve installed your home theater system and you come around to set up your subwoofer, the first step is finding the correct position for it. Even though waves below 80 Hz are non-directional to the ear, the placement affects how the subwoofer plays in the room and how it would sound taking into consideration the place you sit. In case you really want to find the best position for your bass or when your room is oddly shaped, “crawling for bass” is a viable option. Placing the subwoofer near a wall or in a corner, in rectangular rooms can intensify the overall bass level because of interference from the reflections.
- Connections
Subwoofers can be connected to the A/V receiver in two ways:
- Line Level Connection: This uses unbalanced RCA or balanced cables and connections are made similar when a CD player or amplifier is used.
- Speaker Level Connection - This uses speaker wires instead and connects just like you would connect other speakers.
Typically, subwoofers operate in mono and thus a single RCA or balanced level connection is required between the receiver’s Low Frequency Effects (LFE) output - the LFE channel delivers only bass information - and the subwoofer’s line-level output. A good unbalanced coaxial cable will do the job. Seldom do A/V receivers offer balanced subwoofer outputs.
If your subwoofer does not have a dedicated LFE/mono input and has stereo RCA inputs, a Y-splitter can be used to connect the single cable to both the inputs.
- Configurations
It is recommended that you bypass your subwoofer’s internal bass management system in favour of your AV receiver’s. This can be done by engaging the LPF bypass switch (the LPF is a filter that passes signals with a frequency lower than a certain cutoff frequency and attenuates signals with frequencies higher than the cutoff frequency) or setting the crossover to its maximum limit. This is because the filtering done by the A/V receiver is much neater as opposed to the subwoofer. Additionally, the receiver has a better Low Pass Filter (LPF). This ensures that the subwoofer won’t be localised because of better attenuation of frequencies above what it was designed to produce.
Not disabling the subwoofer’s internal crossover results in excessive loss in the sub’s passband which in turn degrades the sound quality when used in tandem with the A/V receiver’s bass management facilities. Cascading crossovers should be avoided.
After this, half of the maximum available volume and a positive or zero phase setting is a common configuration which works great on most systems. On your A/V receiver, set the speakers to “small” and the crossover frequency to 80Hz. This is a common configuration and is recommended by THX for good reason.
- Calibrating the Subwoofer
Calibrating your subwoofer to blend in with the rest of your system can be done in two ways: automatic or manual.
- Auto Setup: Follow the manufacturer’s instructions on how to calibrate the subwoofer automatically. A common way is to place the supplied microphone on a stand on the surface of your primary listening position. The receiver will take measurements and will set distance and channel appropriately. However, in the setup menu, reset the crossover frequency to 80Hz, in case it was changed.
- Manual Calibration: It’s important to set proper distances for each of your channels. Use a tape measure to measure distance of each speaker relative to your primary listening position. The next major thing is to match the level of your subwoofer relative to the rest of your system. The proper way to do this is to use the test tones and an SPL meter set for slow response. Position the SPL meter (also called a Sound Level Meter) using a tripod to ensure that the microphone is in the upright position, firing towards the ceiling. Using the test tones calibrate all the speakers to roughly the same level. The bass level can be a few dB higher for a more impactful bass. It’s recommended that you measure the sound level at two locations and calibrate the main channels with respect to your subwoofer within a few decibels of each other.
- The Conclusive Fine Tuning
The final step to set up your system is to listen to it. Play some bass heavy music. If you can’t hear a seamless blend between the subwoofer and the speakers, you need to experiment some more.
Adjust the level via the A/V receiver’s subwoofer level control. You can also adjust the subwoofer position. Tweak the listening position a bit. You can tame room modes using an equalizer. If you want to smoothen the response across the room, you can add another subwoofer to pair it up.
In Conclusion
Proper setting up and calibration of the subwoofer is necessary. Poor placements and adjustments are a leading cause of disappointment with home theaters. Some subtle changes and subwoofer experimentation can provide dramatically great results.
Comments
0 comments